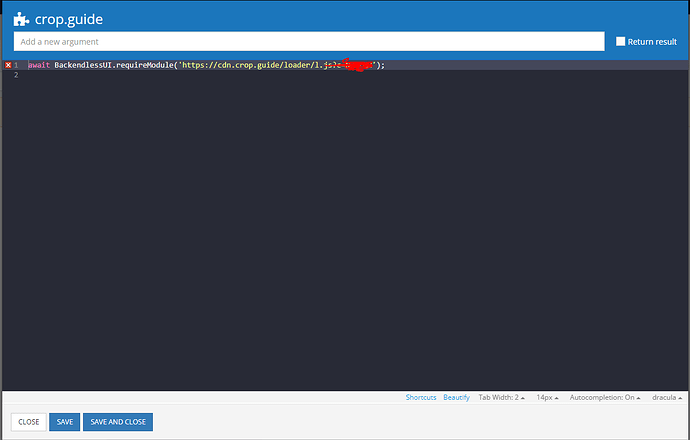
Here is my client side solution using the Custom UI Component Builder for anyone who is interested. The build was done using the Backendless blog post as a reference. I used this link to download and install compressorjs as a third party library (following the blog post instructions) for my Custom Component.
Here is my index.js code for the Custom UI Component. For my purposes, I wanted to hide the upload button for a consistent appearance, show an image preview, and compress the file size before upload and rename the file which is included here and will be expanded on below. I’m a self-taught tinkerer so apologies on the front end if the code is a bit messy or redundant! ![]()
import { useState } from 'react'

import Compressor from './lib/compressor';

export default function MyCustomComponent({ component, eventHandlers }) {

  const [selectedFile, setSelectedFile] = useState();

  const changeHandler = (event) => {

	setSelectedFile(event.target.files[0]);

		const file = event.target.files[0];


      new Compressor(file,{quality:0.6, success(result) {

      const lastIndex = file.name.lastIndexOf('.');

      const after = file.name.slice(lastIndex);

      const fileName = component.filenamePrefix.concat(after);

      const myRenamedFile = new File([result], fileName);

      eventHandlers.imageSelected({ imageFile: myRenamedFile })

    }, error(err) {
      //alert(`${err.message}`);
      console.log(err.message);
    },

    });

	};

  return (

			<input type="file" className="hideUploadButton" name="file" onChange={changeHandler} accept="image/*" />

  )

}```
Here is the style index.less code used to hide the upload button.
.hideUploadButton {
  display: inherit;
  opacity: 0;
  //background-color: #E79137;
  width: 100%;
    height: 100%;
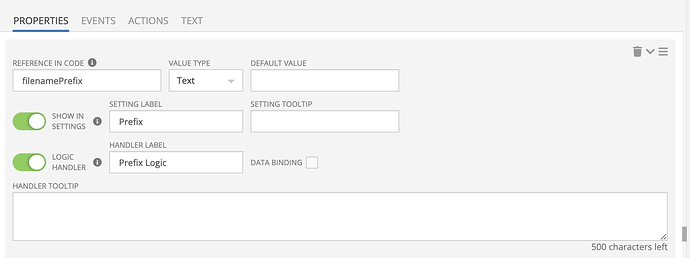
Under Properties of the Component Builder I use the following setting to allow input of a new filename using Codeless logic.
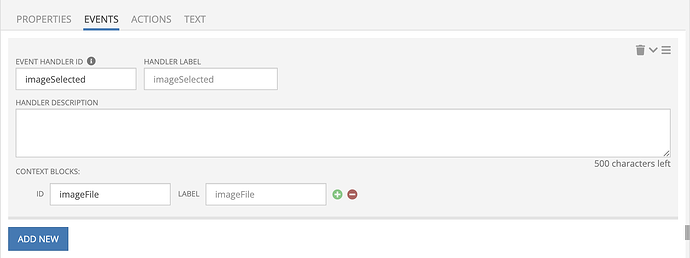
The image is renamed and then handed back to the imageSelected event in the Component Builder for use to update an overlaid image on the user interface with Codeless logic.
Hopefully this info will be helpful for someone!


