Billing and App Cloning question. Is the payment/cc information going to move to the new app when using the management API for cloning? We’ve tested cloning an app, and when it came up, it is the “Free” version, with no payment information included. I thought I heard the payment information could be included, but in a future version of the management API. Is that available yet? Is it a new set of API calls that we need to add into our cloning script?
Hi Mark,
You’re correct, when an app is cloned, it will end up on the Free plan. The billing information is not copied over. You can add a credit card and change the plan programmatically though. Please see the instructions below. The instructions are written from the automation perspective, that is if they are performed by a script, rather than a person:
-
Login as a developer. To do this, make the following request:
POST https://develop.backendless.com/console/home/login

HTTP body:
{
  "login":"developer-email",
  "password":"developer-password"
}
The response headers will include the following HTTP response header among other things:
auth-key: AUTH-KEY-VALUEThe
AUTH-KEY-VALUEis important as you will need to use in subsequent requests as shown below. -
Clone your app, you can see the actual request in the
Networktab of the browser when you do it by hand. Let me know if you need help with it. -
Once an app is created, you need to make the following request:
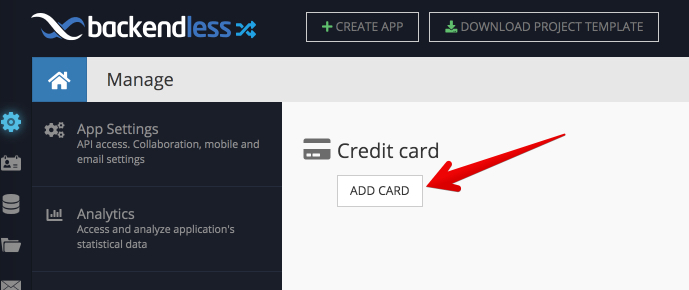
GET https://cloud-billing.backendless.com/YOUR-APP-ID/console/billing/creditcard

Make sure to include the AUTH-KEY-VALUE into the request header:
  auth-key:AUTH-KEY-VALUE
The response for that request will be a URL that contains the form to add a credit card for the application. It is the same form which you see when you click the
ADD CARDbutton:
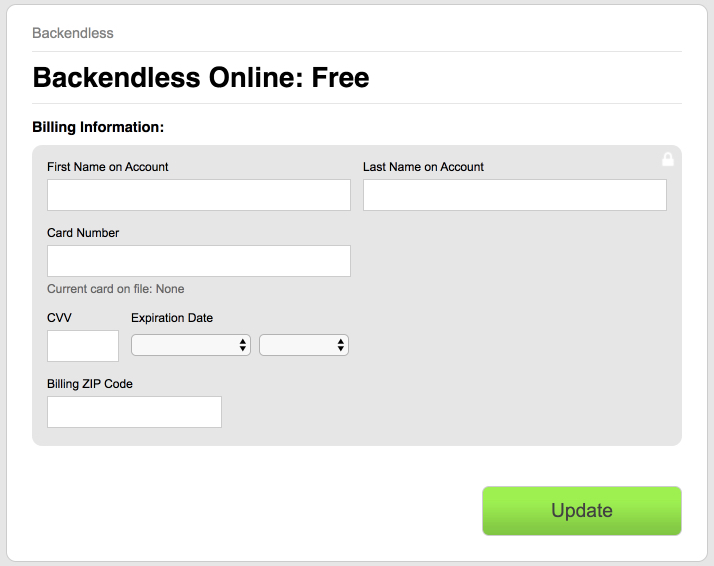
This is what the actual form looks like, I am sure you have seen it:
-
The form is rather straight-forward, play with the actual form to see how the request is structured then you click the
UPDATEbutton. Exactly the same request needs to be executed from your script to add a credit card to your app. -
Once a credit card is added, you need to switch the billing plan in your app. To do that, you need to make one of the following requests:
Switching to the Developer plan:
POST https://cloud-billing.backendless.com/YOUR-APP-ID/console/billing/subscriptions/developerSwitching to the Cloud9 plan:
POST https://cloud-billing.backendless.com/YOUR-APP-ID/console/billing/subscriptions/cloud_9Switching to the Cloud9 plan:
POST https://cloud-billing.backendless.com/YOUR-APP-ID/console/billing/subscriptions/cloud_99For all requests shown above, make sure to include an HTTP request header:
auth-key:AUTH-KEY-VALUE
Hope this helps!
Regards,
Mark